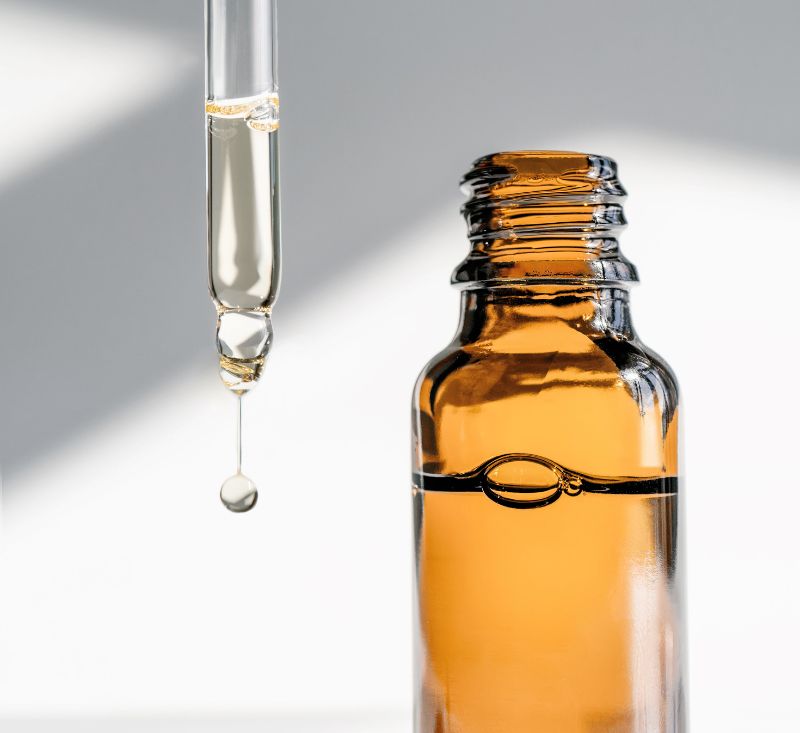
Cleanse your face and apply a few drops of facial oil or serum to provide slip and prevent tugging. We recommend pairing it with our Anti-Ageing Day or Night Serum, or Scar & Blemish Repair Serum for added benefits.
Step 2: Hold the Tool at a 15–30° Angle
The Gua Sha should lie almost flat against your skin, not perpendicular. This allows for smooth, even strokes.
Step 3: Follow These Movements
Neck: Sweep upward from your collarbone to your jawline.
Jawline: Glide from the centre of your chin outward to your earlobe.
Cheeks: Stroke from the side of your nose to your temple.
Under-Eyes: Gently glide from the inner corner to the temple – this area is very delicate.
Forehead: Start between your brows and move upward to the hairline, then side to side across the forehead.
Repeat each stroke 3–5 times on each side of the face, always working from the centre outward and upward.
Step 4: Clean & Store
Wash your tool with gentle soap and warm water after each use. Dry it thoroughly and store it in a clean, dry place.
Adding Gua Sha to your self-care ritual isn’t just about skincare – it’s about slowing down and tuning in. Whether you’re looking to reduce puffiness, sculpt your features, or simply unwind, this age-old technique delivers visible results and a moment of calm.
Experience the beauty of ancient wisdom and modern design with our Stainless Steel Gua Sha Tool – your skin will thank you.